My Neovim config has always been coding-focused—LSP, treesitter, language-specific keymaps for Zig, Rust, and Go. But I recently wanted to use the same setup for writing blog posts. Here’s what I added to make Neovim a solid prose environment.
The full config is at github.com/prasincs/vim-config.
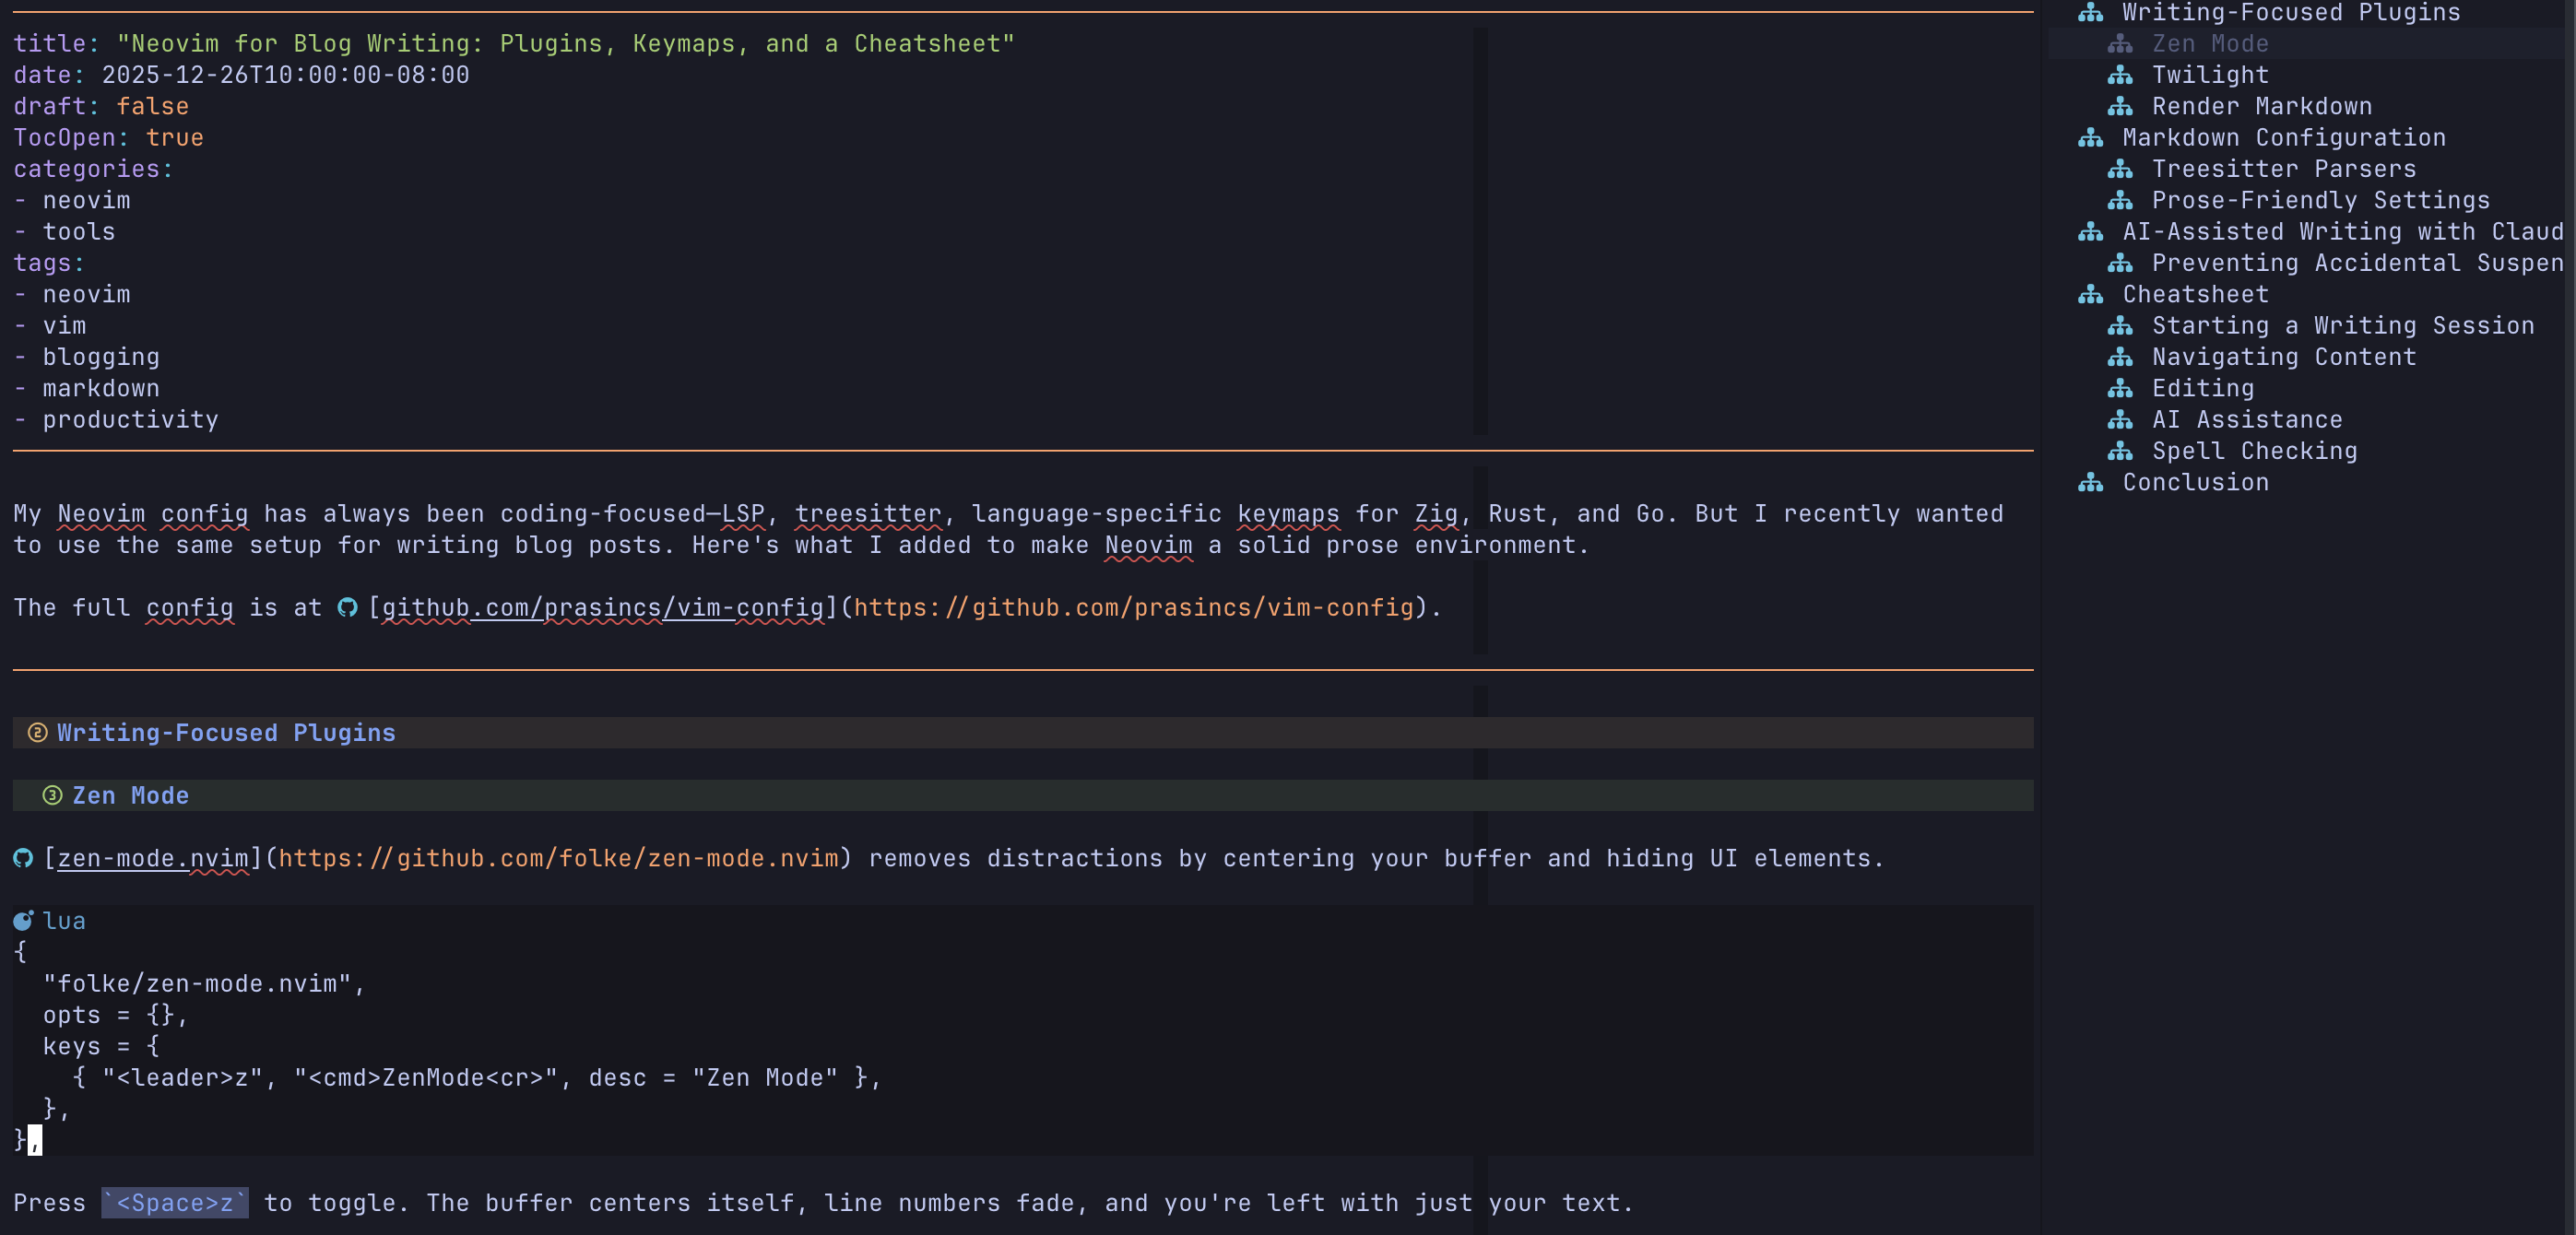
Writing-Focused Plugins
Zen Mode
zen-mode.nvim removes distractions by centering your buffer and hiding UI elements.
{
  "folke/zen-mode.nvim",
  opts = {},
  keys = {
    { "<leader>z", "<cmd>ZenMode<cr>", desc = "Zen Mode" },
  },
},
Press <Space>z to toggle. The buffer centers itself, line numbers fade, and you’re left with just your text.
The screenshot below shows what zen-mode looks like
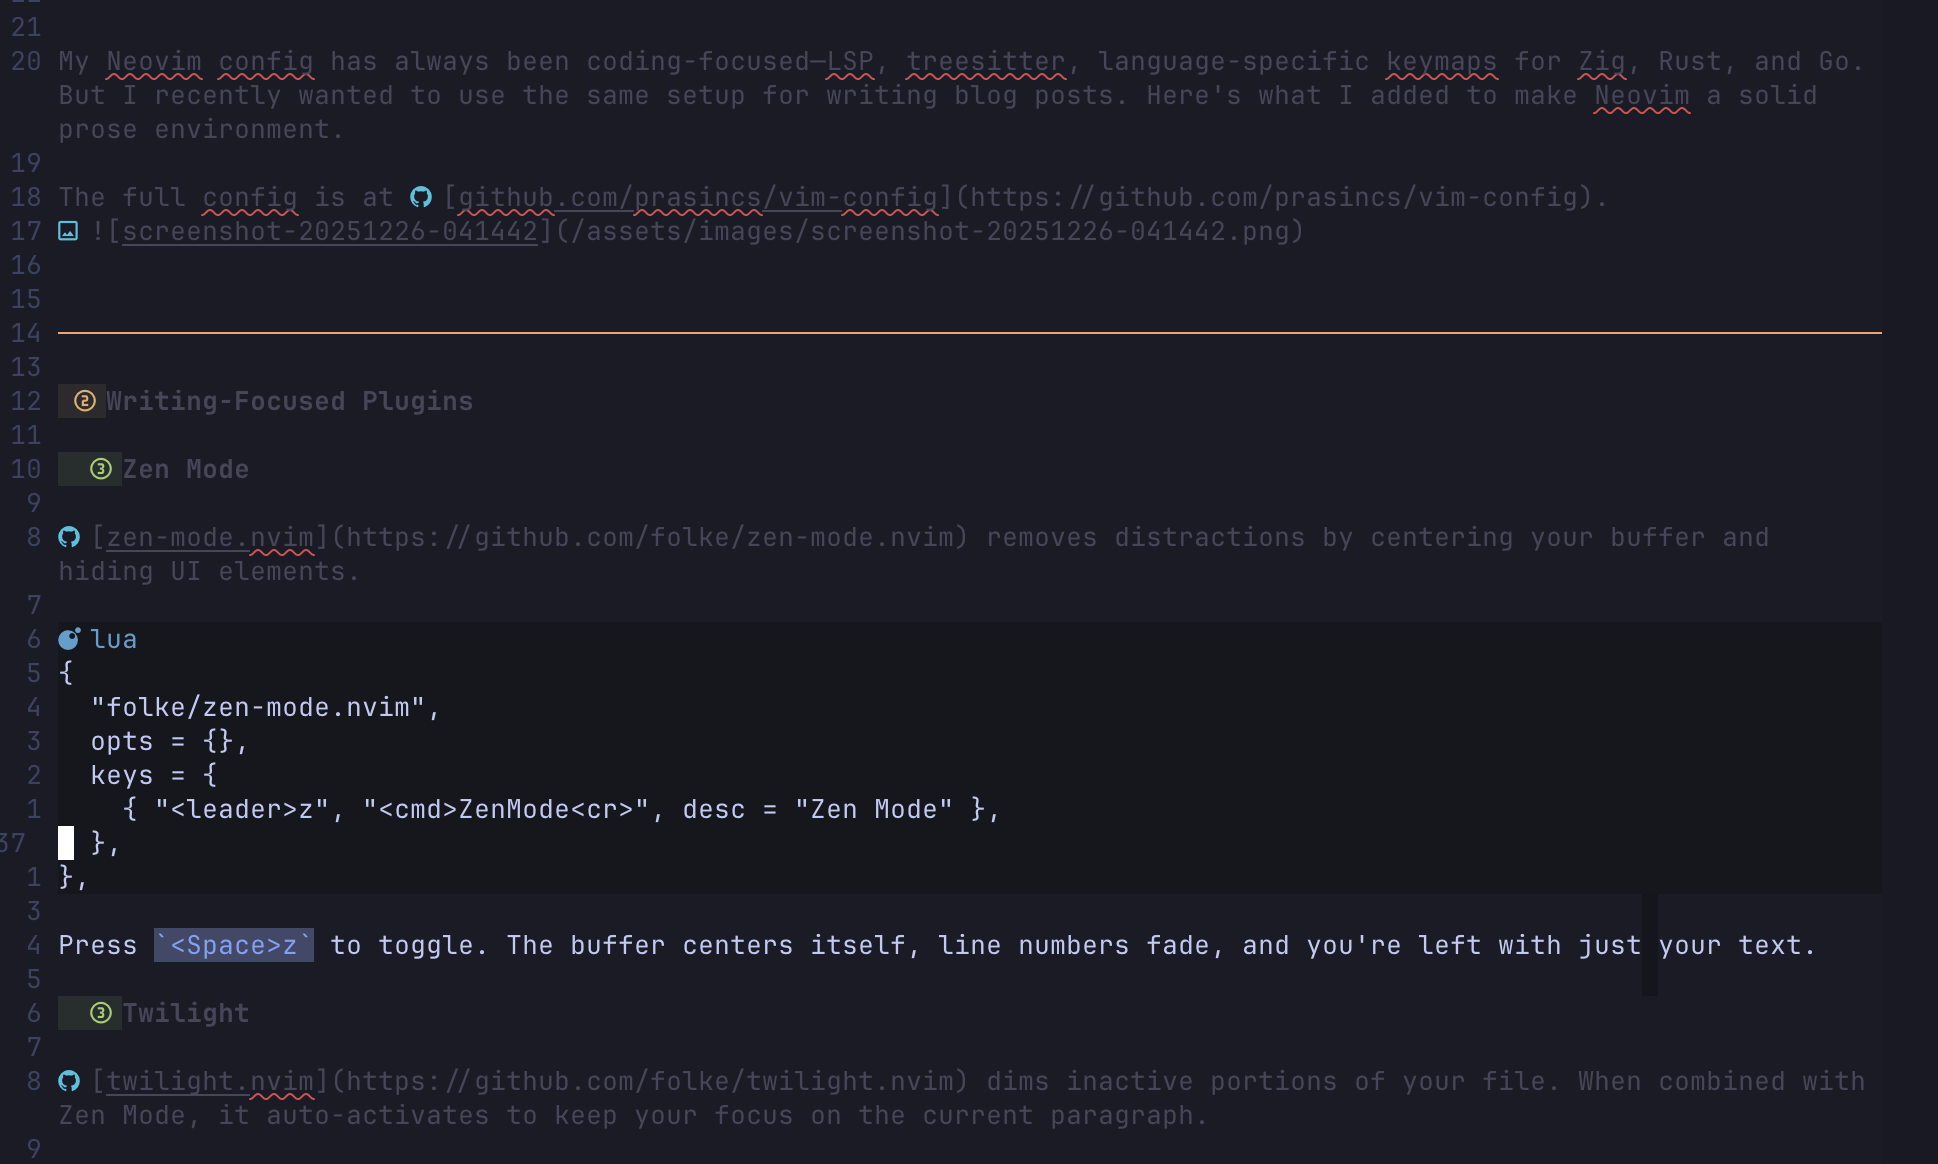
Twilight
twilight.nvim dims inactive portions of your file. When combined with Zen Mode, it auto-activates to keep your focus on the current paragraph.
{
  "folke/twilight.nvim",
  opts = {},
},
The screenshot above also shows the dimming.
Render Markdown
render-markdown.nvim renders markdown decorations directly in the buffer—headings get background colors, code blocks are highlighted, lists show proper bullets.
{
  "MeanderingProgrammer/render-markdown.nvim",
  dependencies = { "nvim-treesitter/nvim-treesitter", "nvim-tree/nvim-web-devicons" },
  ft = { "markdown" },
  opts = {},
  keys = {
    { "<leader>mr", "<cmd>RenderMarkdown toggle<cr>", desc = "Toggle markdown rendering" },
  },
},
Press <Space>mr to toggle rendering on/off. This is optional if you’re using Hugo’s live server for previews—sometimes the raw markdown is easier to edit.
This was a big new and confusing to me, so here’s a helper
Markdown Configuration
Treesitter Parsers
Add markdown and markdown_inline to your treesitter config for proper syntax highlighting:
{
  "nvim-treesitter/nvim-treesitter",
  opts = {
    ensure_installed = { "markdown", "markdown_inline", --[[ other languages ]] },
  },
},
Prose-Friendly Settings
Markdown files need different settings than code. This autocmd enables word wrap, spell checking, and hides markdown syntax:
vim.api.nvim_create_autocmd("FileType", {
  pattern = "markdown",
  callback = function()
    vim.opt_local.wrap = true
    vim.opt_local.linebreak = true
    vim.opt_local.spell = true
    vim.opt_local.conceallevel = 2
  end,
})
wrap+linebreak: Text wraps at word boundaries instead of mid-wordspell: Highlights misspellings (usez=to see suggestions)conceallevel = 2: Hides markdown syntax like**bold**, showing just bold
Adding Images and Screenshots
One friction point in markdown blogging is adding images. You either need to manually copy files and write the markdown tag, or leave Neovim entirely. I added helpers to streamline this.
Setup: pngpaste
For clipboard paste support on macOS, you need pngpaste. I use my fork with error handling:
git clone -b error-handling https://github.com/prasincs/pngpaste.git
cd pngpaste
make && sudo make install
Or use the original via Homebrew: brew install pngpaste
Image Helper Functions
The config auto-detects your images directory (static/images, assets/images, etc.) and provides three ways to add images:
| Action | Keymap/Command |
|---|---|
| Paste from clipboard | <Space>mi |
| Paste with custom name | <Space>mn |
| Insert from file path | <Space>mI |
| Insert via command | :MarkdownInsertImage ~/path/to/image.png |
When you paste, it:
- Saves the clipboard image to
static/images/screenshot-YYYYMMDD-HHMMSS.png - Inserts
at cursor
The :MarkdownInsertImage command copies an external file into your images directory and inserts the tag—useful for images from Downloads or other projects.
Screen Recordings
For screen recordings, there’s a dedicated workflow that converts videos to GIF automatically:
| Action | Keymap |
|---|---|
| Fuzzy find recording from Desktop | <Space>mR |
| Insert via command | :MarkdownInsertRecording <path> <name> |
The search directories are configurable:
local markdown_media_config = {
  image_search_dir = "~/Downloads",  -- Where to search for images with <Space>mI
  recording_search_dir = "~/Desktop", -- Where to search for recordings with <Space>mR
  image_search_depth = 2,             -- How deep to search for images
  recording_search_depth = 1,         -- How deep to search for recordings
}
The <Space>mR keymap opens Telescope filtered to video files (.mov, .mp4, .webm) in your configured directory—~/Desktop by default, where macOS saves screen recordings.
The command handles spaces in filenames naturally:
:MarkdownInsertRecording ~/Desktop/Screen Recording 2025-12-26 at 4.52.47 AM.mov my-demo
The last word without / is treated as the output name, everything before it is the path. This converts the video to GIF using ffmpeg and inserts the markdown tag.
For static images, the keymaps use Telescope for fuzzy finding:
| Action | Keymap |
|---|---|
| Fuzzy find image | <Space>mI |
| Paste from clipboard | <Space>mi |
| Paste with custom name | <Space>mn |
AI-Assisted Writing with Claude Code
I use claudecode.nvim for AI assistance while writing. It integrates Claude directly into Neovim.
{
  "coder/claudecode.nvim",
  dependencies = { "folke/snacks.nvim" },
  opts = {
    terminal_cmd = vim.fn.expand("~/.claude/local/claude"),
  },
  keys = {
    { "<leader>ac", "<cmd>ClaudeCode<cr>", desc = "Toggle Claude" },
    { "<leader>af", "<cmd>ClaudeCodeFocus<cr>", desc = "Focus Claude" },
    { "<leader>as", "<cmd>ClaudeCodeSend<cr>", mode = "v", desc = "Send to Claude" },
    { "<leader>ab", "<cmd>ClaudeCodeAdd %<cr>", desc = "Add current buffer" },
  },
},
Select text, hit <Space>as, and Claude sees your selection. Useful for rephrasing paragraphs or getting feedback on technical explanations.
Cheatsheet
Starting a Writing Session
| Action | Keymap |
|---|---|
| Open file finder | <Space>ff |
| Toggle Zen Mode | <Space>z |
| Toggle file tree | <Space>e |
| Toggle markdown rendering | <Space>mr |
Navigating Content
| Action | Keymap |
|---|---|
| Search in files | <Space>fg |
| Switch buffers | <Space>fb |
Editing
| Action | Keymap |
|---|---|
| Move line down | J (visual mode) |
| Move line up | K (visual mode) |
| Yank to clipboard | <Space>y |
| Toggle comment | gc |
AI Assistance
| Action | Keymap |
|---|---|
| Toggle Claude | <Space>ac |
| Send selection to Claude | <Space>as (visual) |
| Add buffer as context | <Space>ab |
Spell Checking
| Action | Keymap |
|---|---|
| Next misspelling | ]s |
| Previous misspelling | [s |
| Suggest corrections | z= |
| Add word to dictionary | zg |
Images & Recordings
| Action | Keymap |
|---|---|
| Paste image from clipboard | <Space>mi |
| Paste with custom name | <Space>mn |
| Fuzzy find image from home | <Space>mI |
| Fuzzy find recording from Desktop | <Space>mR |
Conclusion
This setup gives me distraction-free writing with in-buffer markdown rendering, spell checking, and AI assistance—all without leaving Neovim.
It’s been over a decade since I wrote about Perfect Vim Setup for Go. The tooling has evolved dramatically, but the core idea remains: configure your editor to fit how you work.
Full config: github.com/prasincs/vim-config